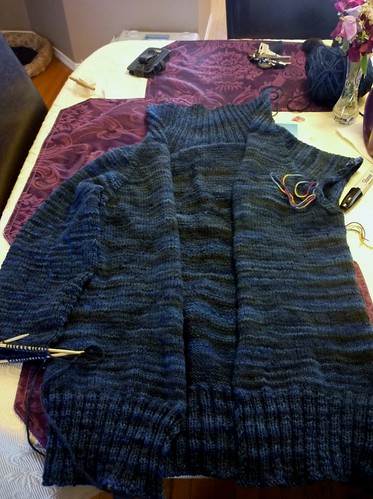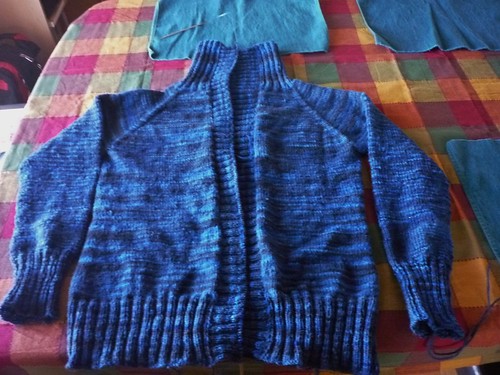
All I have to do now on my Calligraphy Cardigan is attach buttons. I'm done both bands, and I even wove in every single little yarn end. I don't believe I have another sweater upon which I haven't ignored a little yarn tail under the arm or at the back of the neck.
I also found the perfect buttons at The Loop last week.
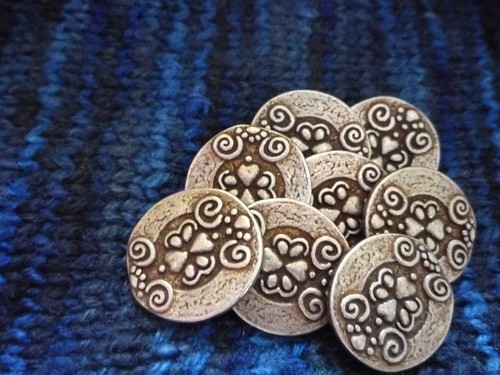
Aren't they pretty? I wasn't sure if they'd have quite what I had in mind, but it turned out what they had changed my mind. I'm easy that way.
I have a lot of yarn left over, so I'm planning out some mittens or a hat- I think most likely a hat, because I have one extra button which I think would look cute on the hat band. I could go back and get another and have a matching button on each mitten but I don't think you'd see them, as the sweater cuffs are quite long.
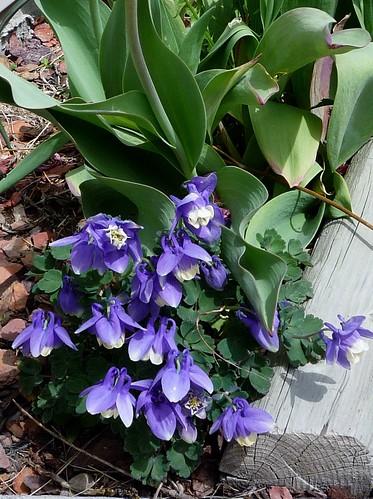
I did another flower picture round-up:
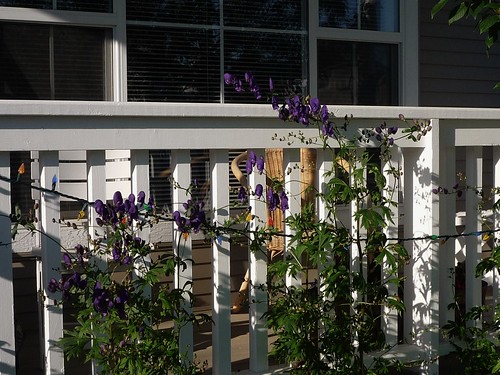
Monkshood out front:

Purple coneflowers opening among the daisies. There are not nearly enough of them and I think next year I will start some more and double them up, so they add more color.


Volunteer Violets under the deck, that seeded from my pots last year. I could remove them, and keep a well-manicured, yuppie yard but they cheer me up every time I look at them- probably more than all the other flowers combined. Well, maybe not. It's hard not to smile at these:

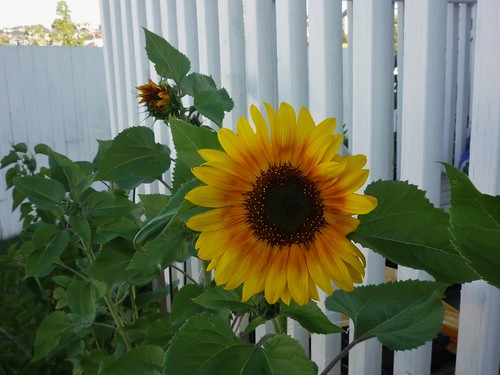
And all of these:

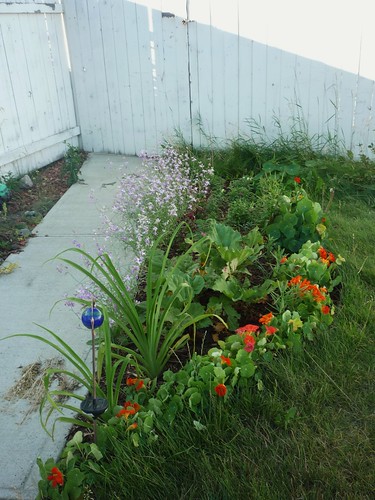
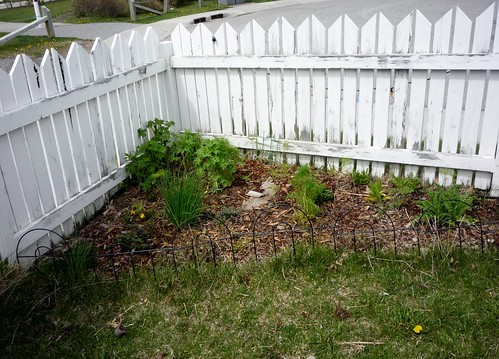
I am finishing up my new perennial bed along the front walk- once I get it mulched I'll take pics. So far I have a forsythia, two spirea, a rose and my weigela as the shrubs and I planted some vinca and red thyme as the ground covers. I know I will have to eventually move some of those but I don't want it to look sparse right now.
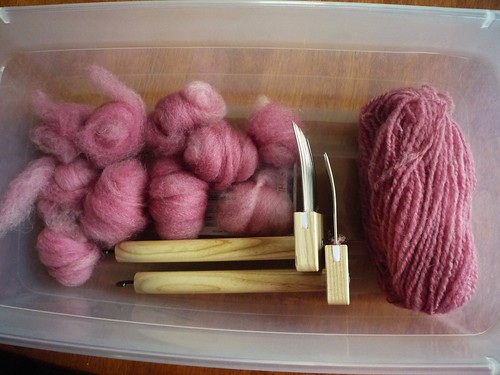
I've got another load of fiber to dye, and now that the boys are back in school, I think Thursday will be my color day. Whee! I'll take lots of pics!